You start with your blank piece of paper (these are SO much easier on a computer or device. I made mine on my iPod with Art Studio).
If you are drawing this on a computer, turn on symmetry (if your drawing program has it).
Draw a curve about 3/4 to the top of the paper.
Then draw the curves for the ears.
Now, draw second curves going from the tip of the other curve down.
Then make some more curves going into the head.
Now add the muzzle.
And the eyes.
Then add the nose.
Fill in the eyes (they can be the same color if you like).
Then fill in the nose.
Now make black circles inside the eyes.
And add white dots for reflection.
If you are going to fill each side in a separate color, make a line going straight down the middle.
Add desired markings.
Then color in (you may have to crop your picture if you made the head too high).
Now add the neck.
Remove symmetry (unless you want it to have the same markings on each side of the neck).
Color in.
Add background color.
And use the smear tool to blend both sides. And now you're done!
Tuesday, January 28, 2014
Tuesday, January 14, 2014
How to make: An Origami Ball (inflatable)
This one is a lot like the Inflatable Rabbit (just a little simpler). Start with your paper in front of you, color side down.
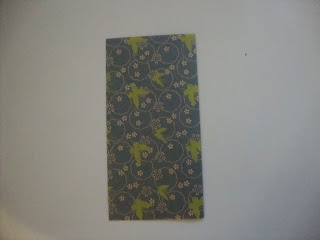
Then fold in half, and crease well.
Then unfold your paper.
Rotate.
And fold again.
It should look like this when you open it.
Then fold it diagonally.
Open.
And fold the other way.
It should look like this.

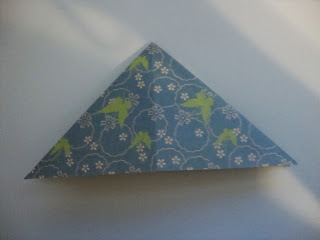
Then fold your paper into a triangle (also known as a squash fold).
Then fold the corner up to the top of your triangle.
Repeat with other corner, it should look like a diamond in the center.
Then fold the outer tip of the diamond into the center.
Repeat with other tip.
Flip over.
And repeat the earlier steps (fold into diamond).
(fold tips to the center).
Then you blow into the tiny hole at the top.
Now you have your ball (remember to crease well, or it will not turn out).
Then fold in half, and crease well.
Then unfold your paper.
Rotate.
And fold again.
It should look like this when you open it.
Then fold it diagonally.
Open.
And fold the other way.
It should look like this.

Then fold your paper into a triangle (also known as a squash fold).
Then fold the corner up to the top of your triangle.
Repeat with other corner, it should look like a diamond in the center.
Then fold the outer tip of the diamond into the center.
Repeat with other tip.
Flip over.
And repeat the earlier steps (fold into diamond).
(fold tips to the center).
Then you blow into the tiny hole at the top.
Now you have your ball (remember to crease well, or it will not turn out).
Subscribe to:
Posts (Atom)


