Artwork

Tutorials

Tuesday, February 26, 2013

Plastic Wrap

I learned the plastic wrap technique at water color class. First you start by getting a paint brush and dipping it in water. Then you paint your paper with water. Then add a little bit of paint, if you put enough water on the paint will spread itself out in the water. Once your paint has spread out, get a sheet of plastic wrap and cover your painting. Once the paint has dried you will remove the plastic wrap. Then outline shapes that look like different things (such as a duck or rhino). Then use different colors to paint in the areas that are not distinctive shapes. Then you will end up with something similar to this.

Tuesday, February 19, 2013

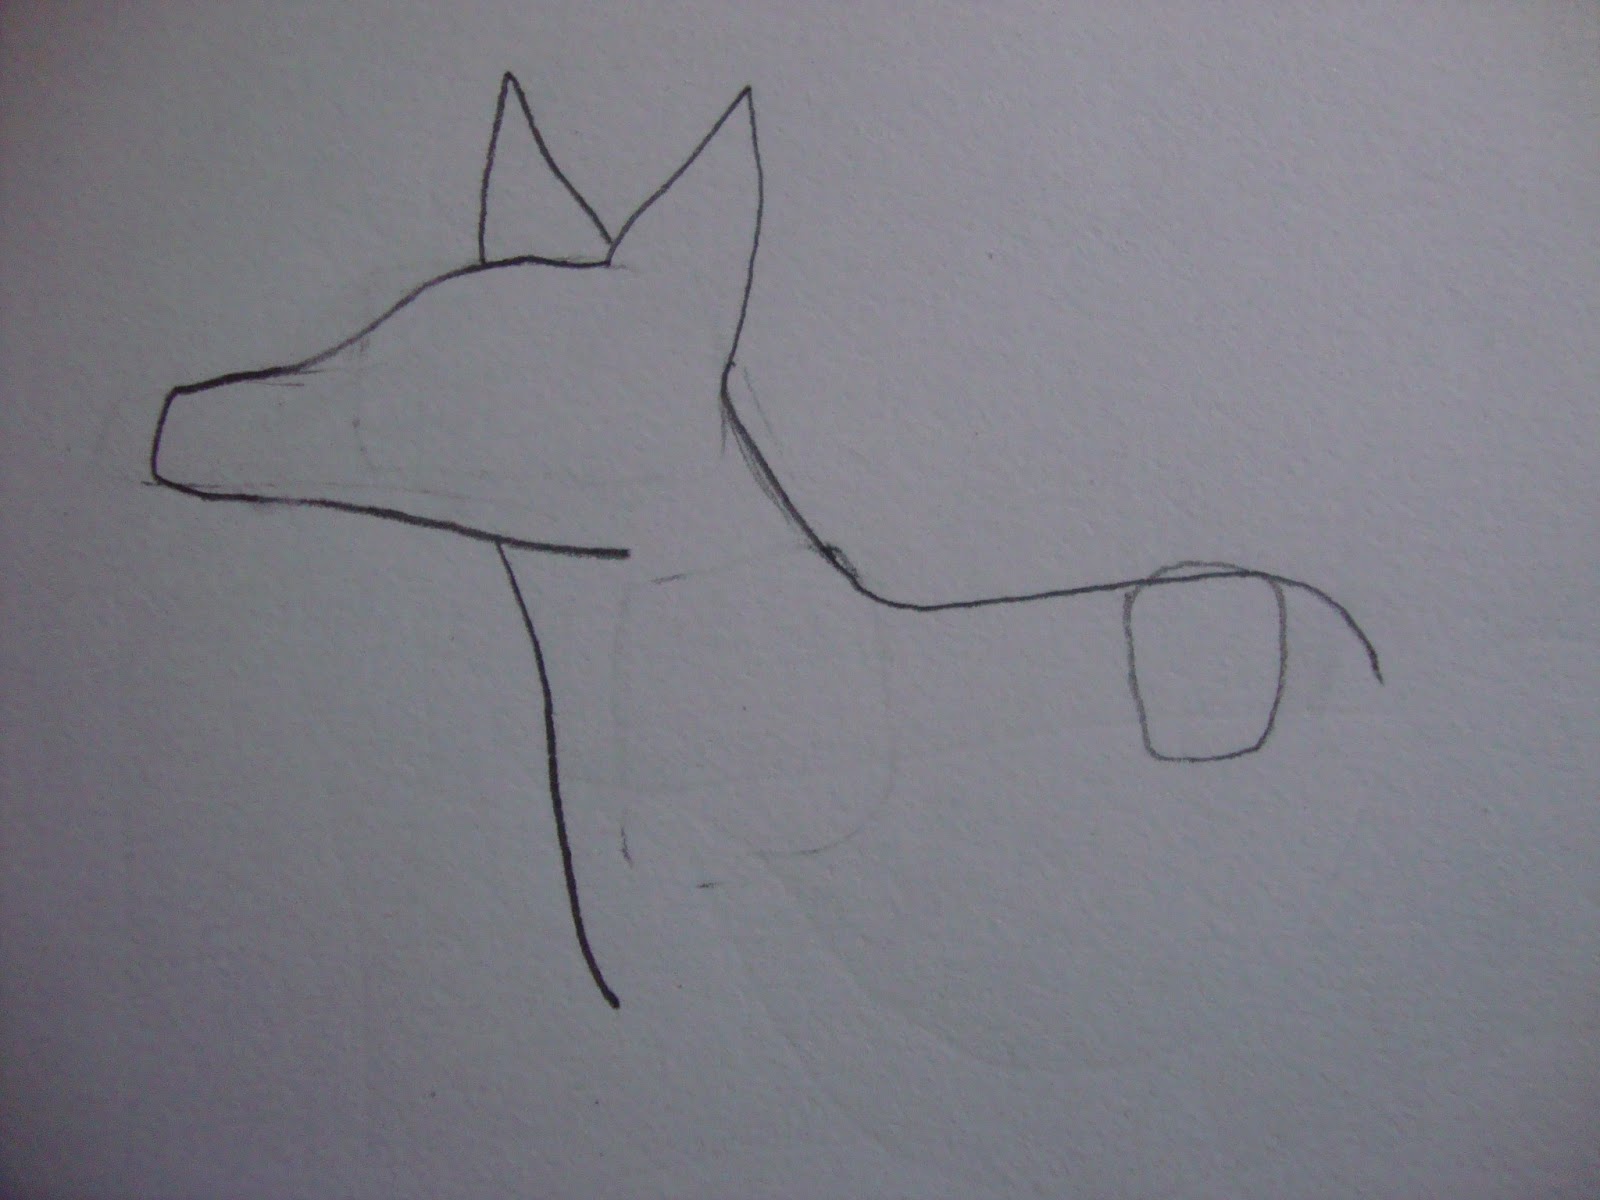
How To Draw A Dog #2

First you will draw two rectangles for the head and snout, after that you add two rounded squares for the body.
 Then starting from around the middle of the back of the head, add the first ear and add the other one after you make the first one. Also add the back of the neck.
 Then make the head and make the front of the neck and chest and erase your rectangles and squares (except the one in the back).
 Then make a sloped back.
Add the legs (always start with the leg in front).


 Then add the back leg and erase the last square.
Next add the last leg.
Now add a nose, markings, and a tail (markings can be any design).
To make the eye make one curve and make another that attaches.
 Then color in the eye (any color)


Then add dark brown lines for fur (any color will work)
Then use a light brown to color in the dog (once again you can use any color)
Then add shadowing (by lightly using your black in certain places) and sign.

Tuesday, February 12, 2013

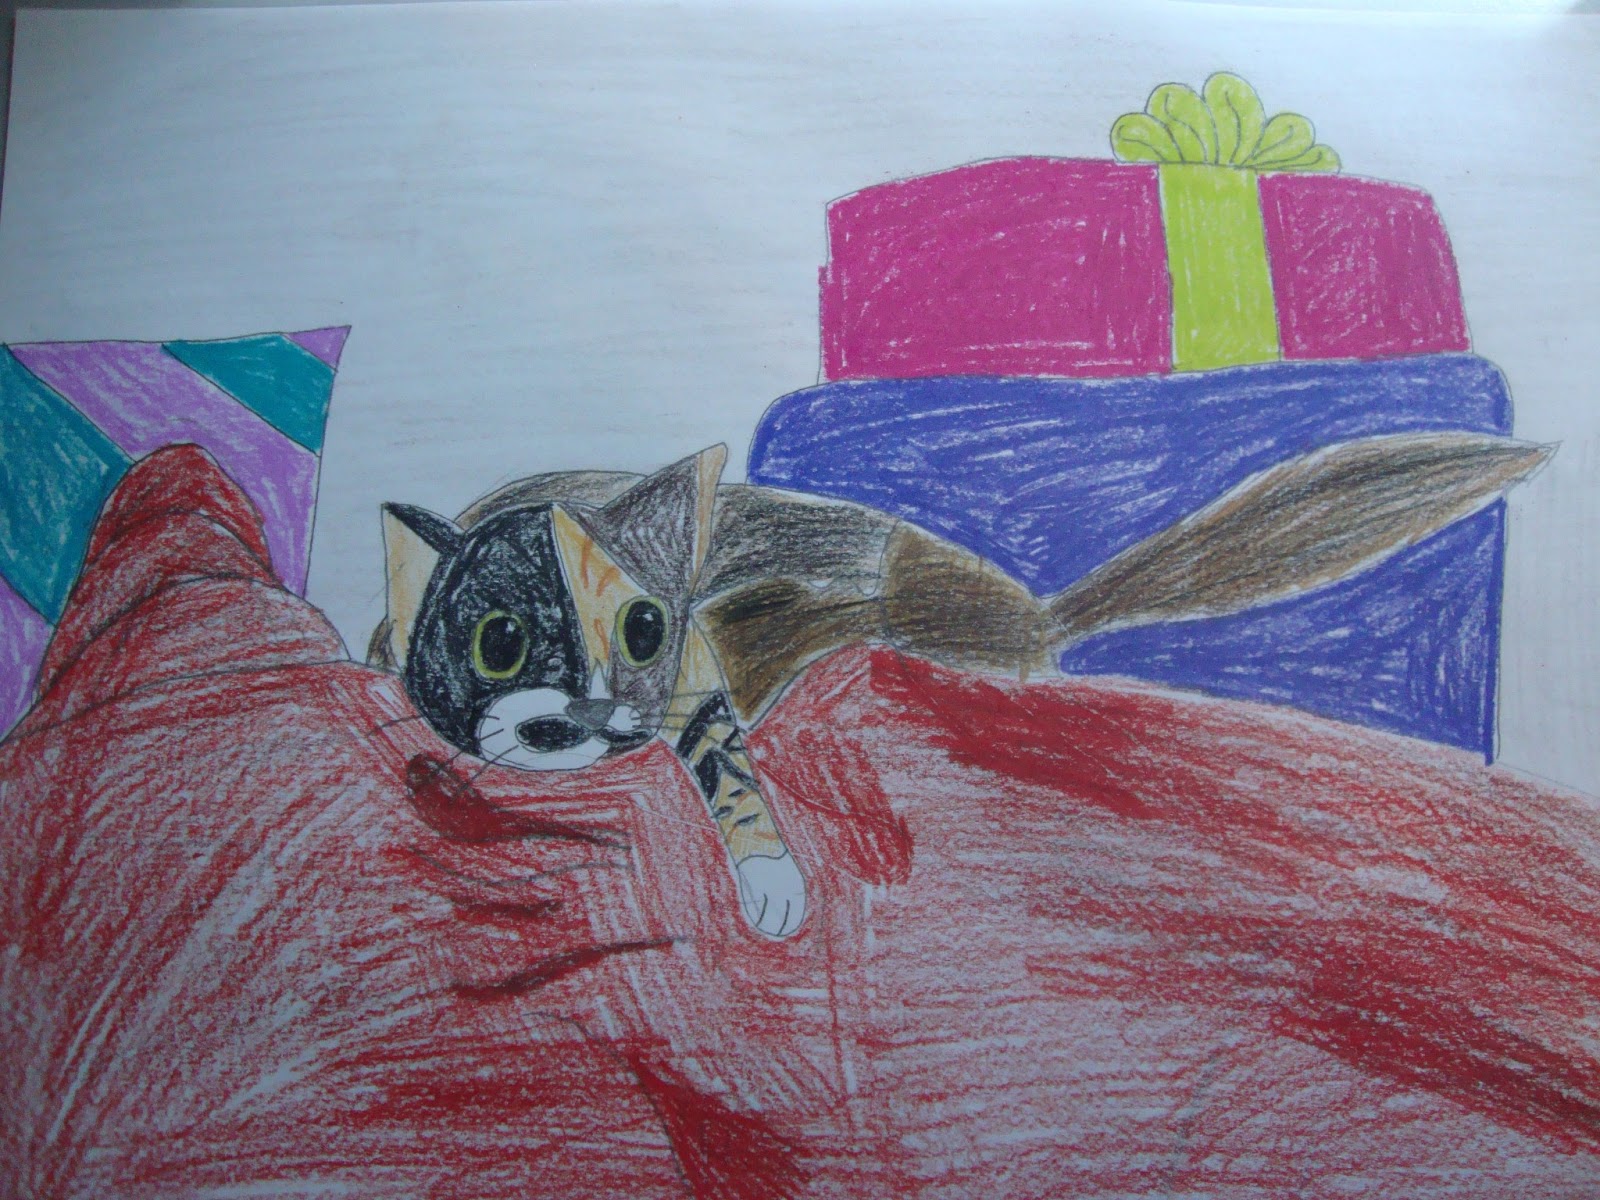
Kitten In Presents

This is another picture that I did of Sushi. I based it off of a picture, when she was a kitten. It did not turn out a lot like the picture since I made a few changes. I did not include the tree or all the presents. It was easier to make since I did not include the tree or all of the presents. For Sushi I did the fade circles and a couple of lines. For the presents I did squares and colored them in. And the blanket was basically just a curved line with a bunched up area on one side.

Wednesday, January 30, 2013

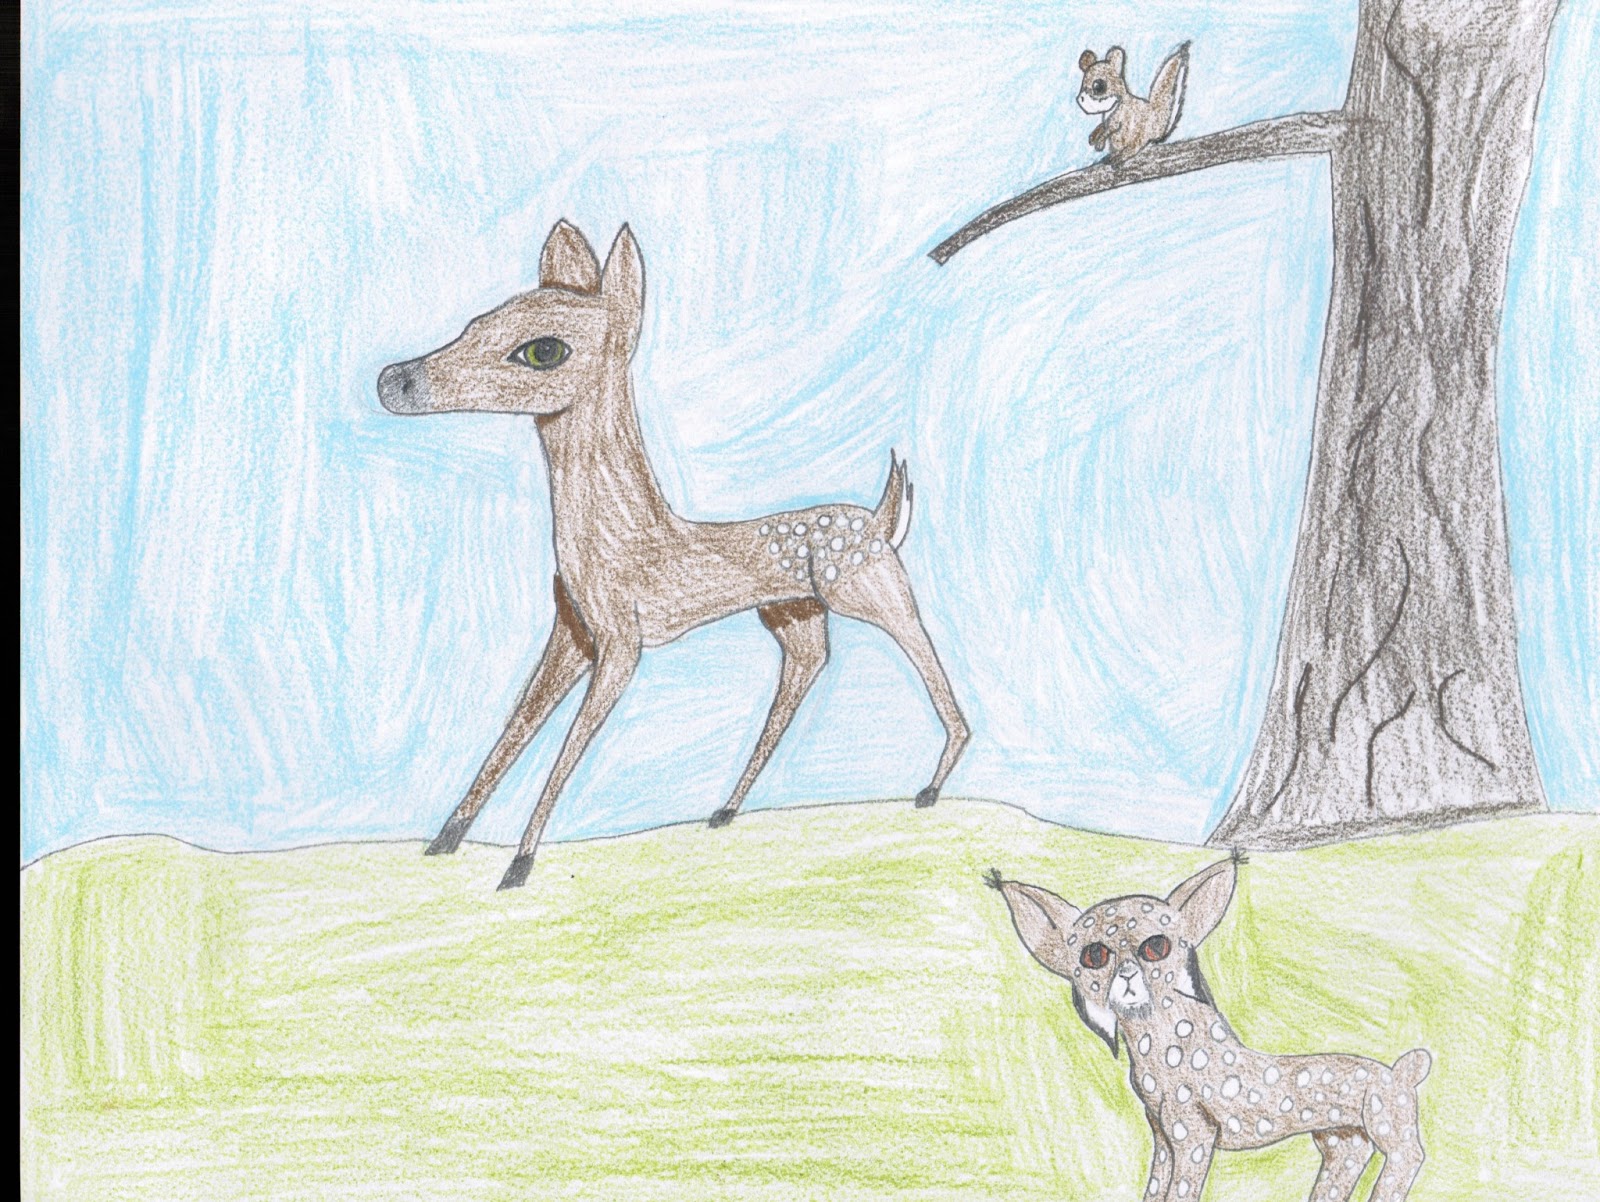
Forest Scene

This is a forest scene that I made. It includes a fawn, a squirrel, and a lynx. Some things that you can do (if you are also making a forest scene) that I did not do are, I could have added more trees, more limbs on the tree, a couple smaller animals such as mice, rabbit, ect. Perhaps I will make a tutorial for different scenes some other time (once I have more tutorials for single animals).

Tuesday, January 22, 2013

How To Draw A King Cobra

 First, you will draw your light circles (and ovals). One oval for the head, two ovals for the head pieces, three skinny hot dog shaped ovals for the neck, and one large oval for the body
Next, you will darken the head oval.
 Then, you darken the head pieces.
Now, draw lines tracing the small neck ovals to the back of the large oval.
 Then darken the other side of the large oval.
 Next, you will make a line going from the bottom half of the large oval, and curving to the top half.
Then make another one that starts from the top half going to the lower half.
 Do the same again.
And again.
Now that you have your basic outline, erase the fade ovals.
Now add eyes.
Then in the middle of each eye, draw a small circle.
 Now add a tongue.
 Now color in the small circles in the eyes.
 Now add marks (optional).
 Color it in (you can make it any color that you like).

Then complete the snake and sign.

Sunday, January 20, 2013

How To Draw A Kitten

First you will draw eight circles. One for the head, two for the body, four for the legs, and one for the ball (ball is optional).
Then you will make a line for the tail (for now) and add fur to the face and a neck.
Then to get the legs, you make a furry line starting from the neck going down to the paw. Then make a furrier line on the other side of the leg. Then do the same with the other leg.
Next you will add two curved lines for the ears.
 Then erase the circles on the paws.
Next, draw a fuzzy looking line to the back thigh. To make the thigh you will make a short curved line using your circle. Then make another line on the other side of the circle.
Then add extra lines to the curves on the head to make ears.
Then erase your circles that are NOT the back feet or the ball.
 Next, you will makes the back of the tail.
Now go from the thigh down to make your feet.
Then add lines on the paws.
Next outline your ball with a darker shade of black and makes lines.
 Now makes more lines.
 Then make your oval eyes and nose (with mouth).
Then add markings (you can make them any way). And color in the eyes (but leave a white dot, for light reflection).
You can make it any color, but for this drawing I will be using light brown, dark brown, yellow, orange, and black.
 Use the black to make more marks and outline your white marks with darker black.
Then outline the black with a thicker layer of dark brown.
 Then color the cat orange.
Next add a yellow layer over the orange.
 Then add your light brown.
 Then you will need red (pink would be easier) and another color (for the ball).
Then use the red (If you box of colored pencils does not have pink) to lightly color in the nose. And color is your ball of yarn then sign your picture.