 |
| First get your piece of paper (of any color) and place it in front of you. |
 |
| Then fold the paper in half and cut out a trapezoid on the open end. (do NOT throw away the trapezoids) |
 |
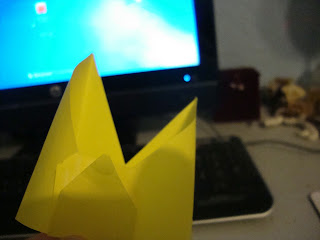
| Next open the paper and flip it to look like this. Then fold the top part down. |
 |
| Then do the same to the bottom half. |
 |
| Then fold each of the corners into little triangles (be sure to crease well). |
 |
| Then starting from the triangles cut diagonally to make more triangles (do NOT cut them out). |
 |
| Then fold in the triangles (tape them if they do not stay down). |
 |
| Then fold the tips of the (legs). |
 |
| Then place in front of you, one of the trapezoids that you cut out earlier. |
 |
| Then cut out a triangle shape in the middle (do NOT cut all the way). |
 |
| Then fold down the triangle. |
 |
| Then cut off the edges. |
 |
| Next you will staple (or tape) the back of the head to keep it together. |
 |
| Here is what the head will look like on the rest of the fox (do NOT attach the head yet if you want to further decorate the fox). |
 |
| Next place your last remaining trapezoid in front of you. |
 |
| Then cut a tail out of the trapezoid. |
 |
| Next you will color in the tail. |
 |
| Then tape the tail to the back of the fox. |
 |
| Now back to the head. Color in the nose and snout. |
 |
| Then fold the snout against the head and then fold it again against the head. |
 |
| Then add detail to the face by adding eyes and color. |
 |
| Then tape or glue the head to the body and you have your fox. |
 |
| Fox from different angle. |

That is great Courtney!
ReplyDelete